
In the last year and a bit, a few friends have started sending newsletter using either Substack or Ghost. Both offer a similar service with the option to restrict some or no content and provide the rest for free.
Yesterday I realised that the same effect could be created using WordPress and at a very affordable rate. So here’s how you can make a Substack newsletter in WordPress.
Update!
Unfortunately it seems that Newsletter Glue, the easiest option below, is now targeting corporations not individuals. I will keep my eyes open for a new consumer option to update the article with. Please let me know if you know one.
The Tech stack
- an installation of WordPress with a hosting company
- any basic WordPress theme. I haven’t found anything that looks exactly like substack but the default theme is very minimal.
- either
- a dedicated solution like newsletter glue
- with an email service (Mailchimp is in the free plan free)
- or a combination of
- a restrict content plugin like Restrict content (You can use the free or pro version)
- an email sending service like Mailpoet (or Mailgun for WordPress, Mailchimp, Sendfox or ConvertKit.
- a dedicated solution like newsletter glue
Newsletter glue vs a custom set up
My initial inspiration for this article was to use the newsletters and plugins that I was familiar with to restrict content. During my research, I discovered the plugin “newsletter glue” an all in one plugin that integrates your WordPress site with a one of the most common newsletter providers.
The free version of Newsletter glue is sufficient if you want to use mailchimp and lock certain content. If you want to use a different newsletter service like mailerlite or campaign monitor, or you want some of the advanced custom block, the pro version is for you.
Newsletter glue does have a very easy set up and after filling in your API, you’re good to go. A custom set up would let you use a different email service but I suspect newsletter glue is the best choice for most people.
Either way, you’ll need content
The next section focuses on the content you should create and how to set up your homepage and applies to using newsletter glue or a different service. After that there are instruction to create a custom set up using restrcit content pro.
The content we are going to copy
When you land on Substack, you are greeted with a sign up form or you can click “let me read it first.” Substack also creates default about pages and subscription pages. So let’s duplicated these.
Making the homepage
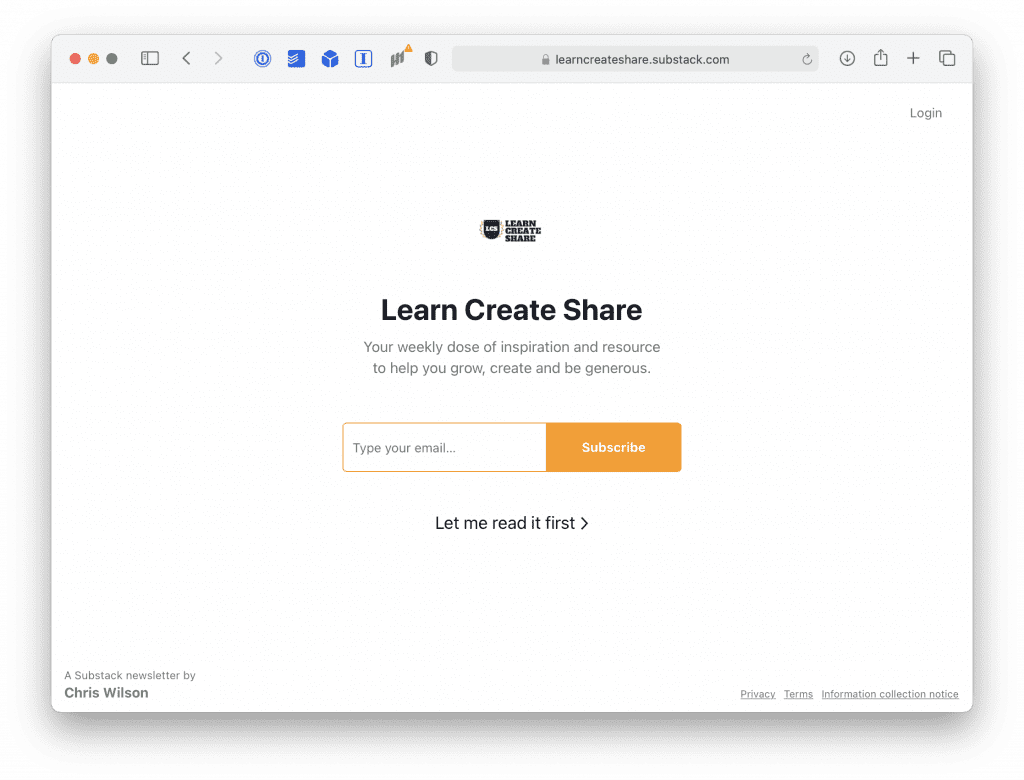
Substacks homepages are simple and limited. They have
- an icon,
- a headline
- a description
- an email signup form
- and a button to let me read first.
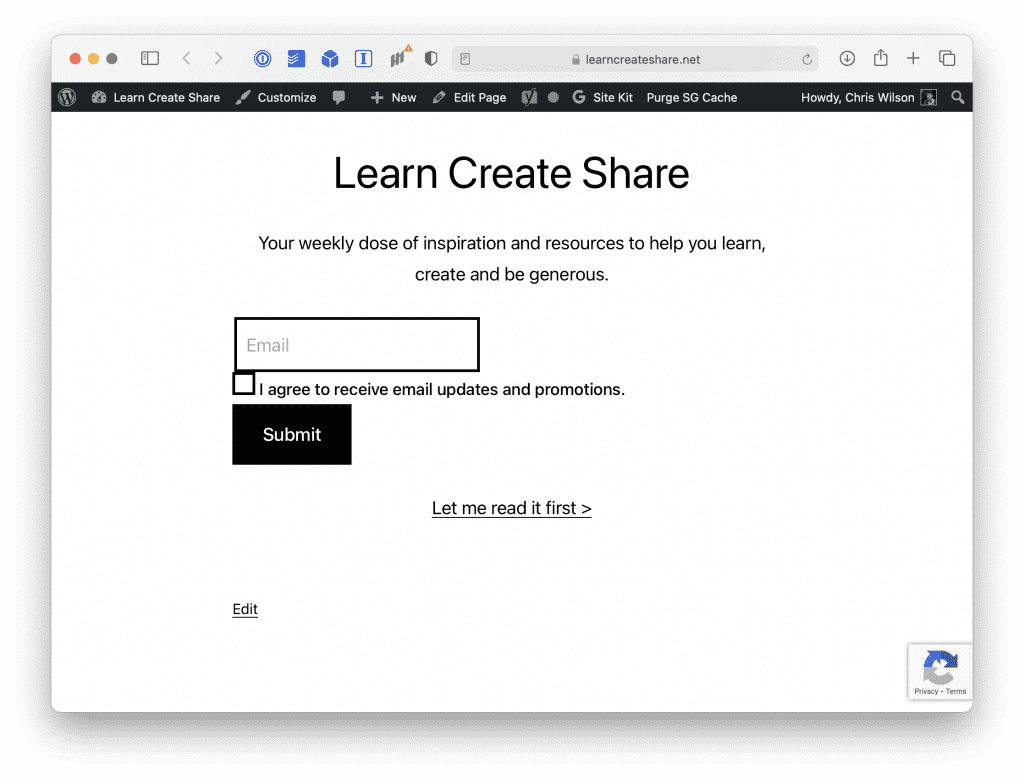
To replicated it, all we need to do is…
- Create a page (If you can disable the text on the page, call it whatever you like e.g. home. if it will show up, set this as you headline)
- Add an image, set it as a thumbnail size and centre it.
- Add a headline (H1 if you can disable the page title as a heading text, h2 if you can’t)
- Add a paragraph block with a description
- Add your email sign up form
- Add a button with the text “let me read first” give it the link to whatever your articles page will be called (blog/newsletters/articles/etc I like “articles” personally)
If you have newsletter glue pro, you can use the subscribe form block. If you only have the free version, you can use other solutions to get a form to embed such as genesis blocks, mailchimp for WordPress or just getting the HTML code from Mailchimp.
Make the past issues page
Create a new page and give it a title like newsletter / articles or blog. Set this as the URL. You don’t need to do anything else to this page, it should be blank.
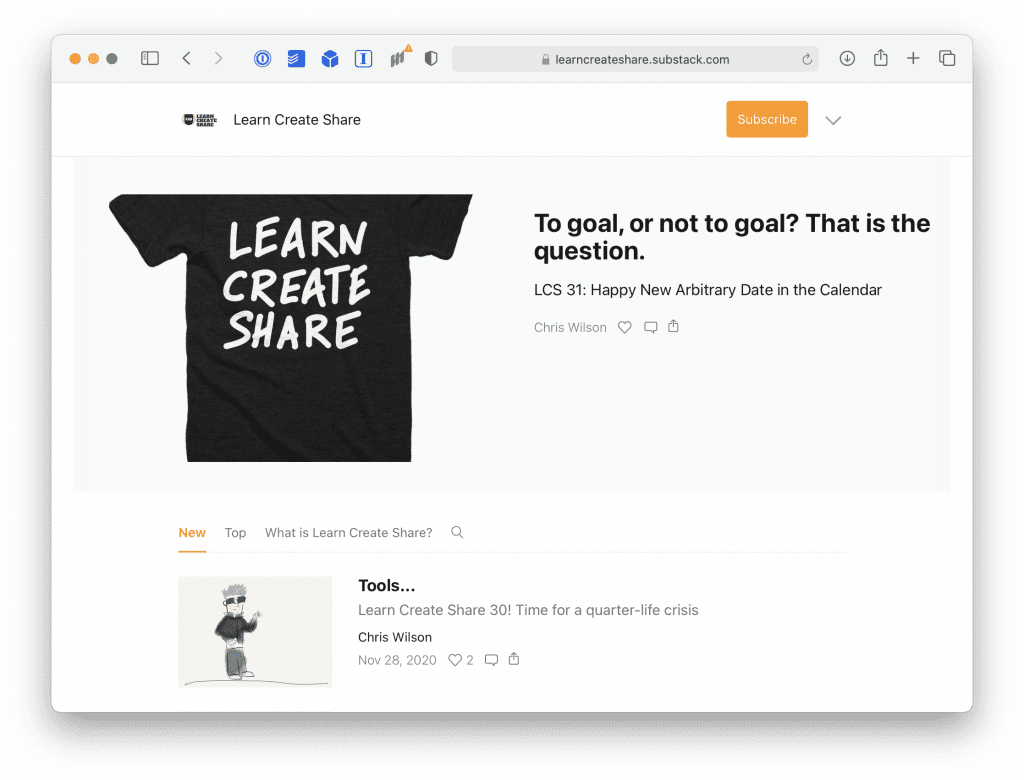
In settings, reading, set the page you just created as the “Posts” page. At the same time, make the homepage you created the homepage.
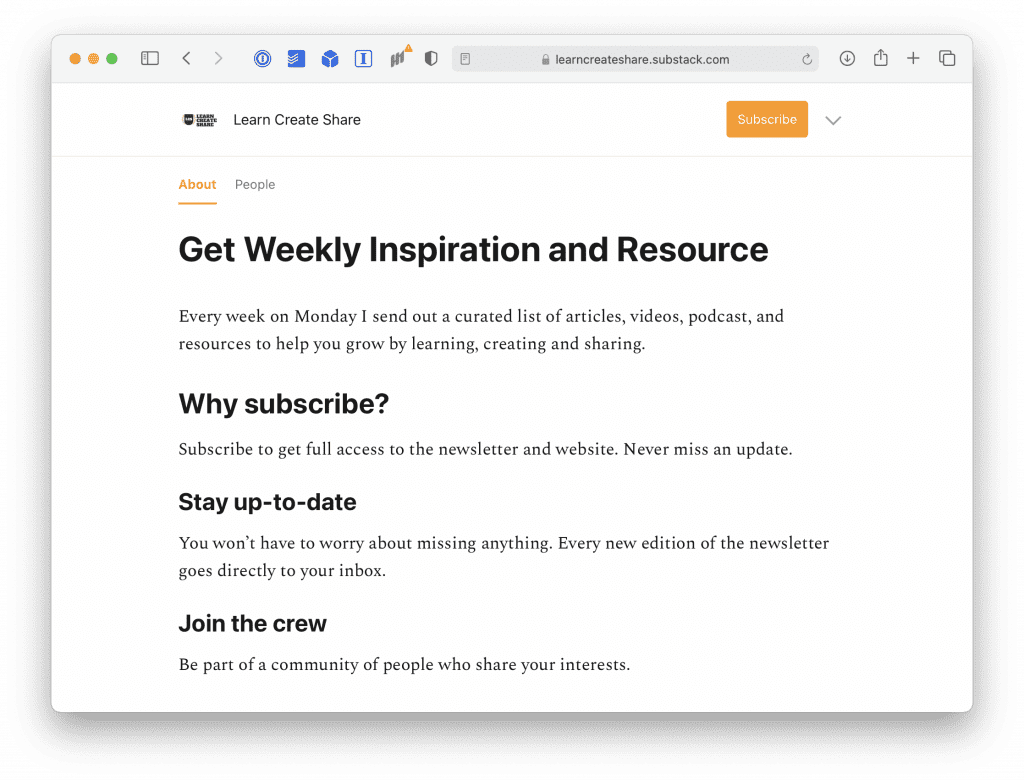
Making the about page
About pages are often in the top two most visited pages on your website. The biggest mistake is to make it about you and not the customer. This is on of the core lesson from Marketing Made Simple.
The substack default content has a simple template you might want to use including
- Headline (What your newsletter is about)
- A short description (what sort of content you provide )
- Why subscribe
- Some subheadlines including “stay up-to-date and “join the crew”.
Here are a few tips for a more effective about page
Speak about what you can do for the reader, not state what it is
Most about pages describe a thing rather than focus on the benefit for the user. That’s like Pepsi saying their a sugar water drink or a Mercedes being a luxury car from Germany. Focus on how it will help the reader.
Set expectation
Tell them how often you send your email, when and what they will get.
Aim to be as specific as possible but you can give your self wiggle room while you develop the habit.
For example, “I send a newsletter every Monday morning with tips, tricks and tutorials on video production.” is clear “I send emails approximately weekly on a range of subjects that catch my attention including…” is not as clear but still better than “sometimes I send a newsletter.”
Include a quote if you have one
Ask any current subscribers what they like about the newsletter and add that to the about page, that can help guide you to what people like in your newsletter and help convince people to subscribe.
Writing your first post
Once you have the rest of your content set up, the only thing to do is write your first post and start promoting your newsletter. You can do this using regular posts and gating some of the content, or you could create a custom post type called something like newsletter and use that for your posts.
The choice is yours.
Set up a custom configuration
While newsletter glue is a great service offering an easy and affordable system, you might want to do something more custom
Set up your email service
You can use any email service you want for this but if you want something deeply integrated with WordPress, pick mailpoet.
Some alternatives I like include
- Sendfox (my personal recommendation. Start free, one time fee over at Appsumo unless you have big needs.)
- ConvertKit (great email service, now has a free plan but limited features.)
Set up the service you pick according to the settings.
Restrict some of your content
You could keep your newsletter open to the world with no restrictions. This would help encourage more people to share and aids discoverability in search.
But if you to convince people to sign up so that you can contact them or you want to make offer a subscription, you’ll need a way to restrict that content.
I’ve used restrict content pro for a few years after I got it for an online course. It can work for newsletters too. The free version let’s you restrict content so only subscribers can access it, the pro version let’s you charge people for access.
The free version requires no set up, just pick a post to restrict or use the restrict shortcode to lockaway certain content.
The pro version has plugins to connect with a newsletter and automatically add subscribers as well as offering a payment gateway.
An alternative is memberful which let’s you collect payments (minus their 10% cut ) but to offer free memberships, you need to pay a monthly fee.
Getting Subscribers
Once you’ve got your technical stack set up, the real challenge is getting subscribers. This could be a post in itself but here’s a couple of quick thoughts.
- Go to where your potential subscribers already are.
- Create great content
- Invite people who would be interested in your topic
- Share sneak peeks and invite people to subscribe.
Ready to make a Substack newsletter in WordPress?
Substack and Ghost are certainly easier to set up for a restricted newsletter, but if you are interested in a free to start newsletter and want to use WordPress, then it’s perfectly possible to create a Substack like experience.
Leave a Reply