
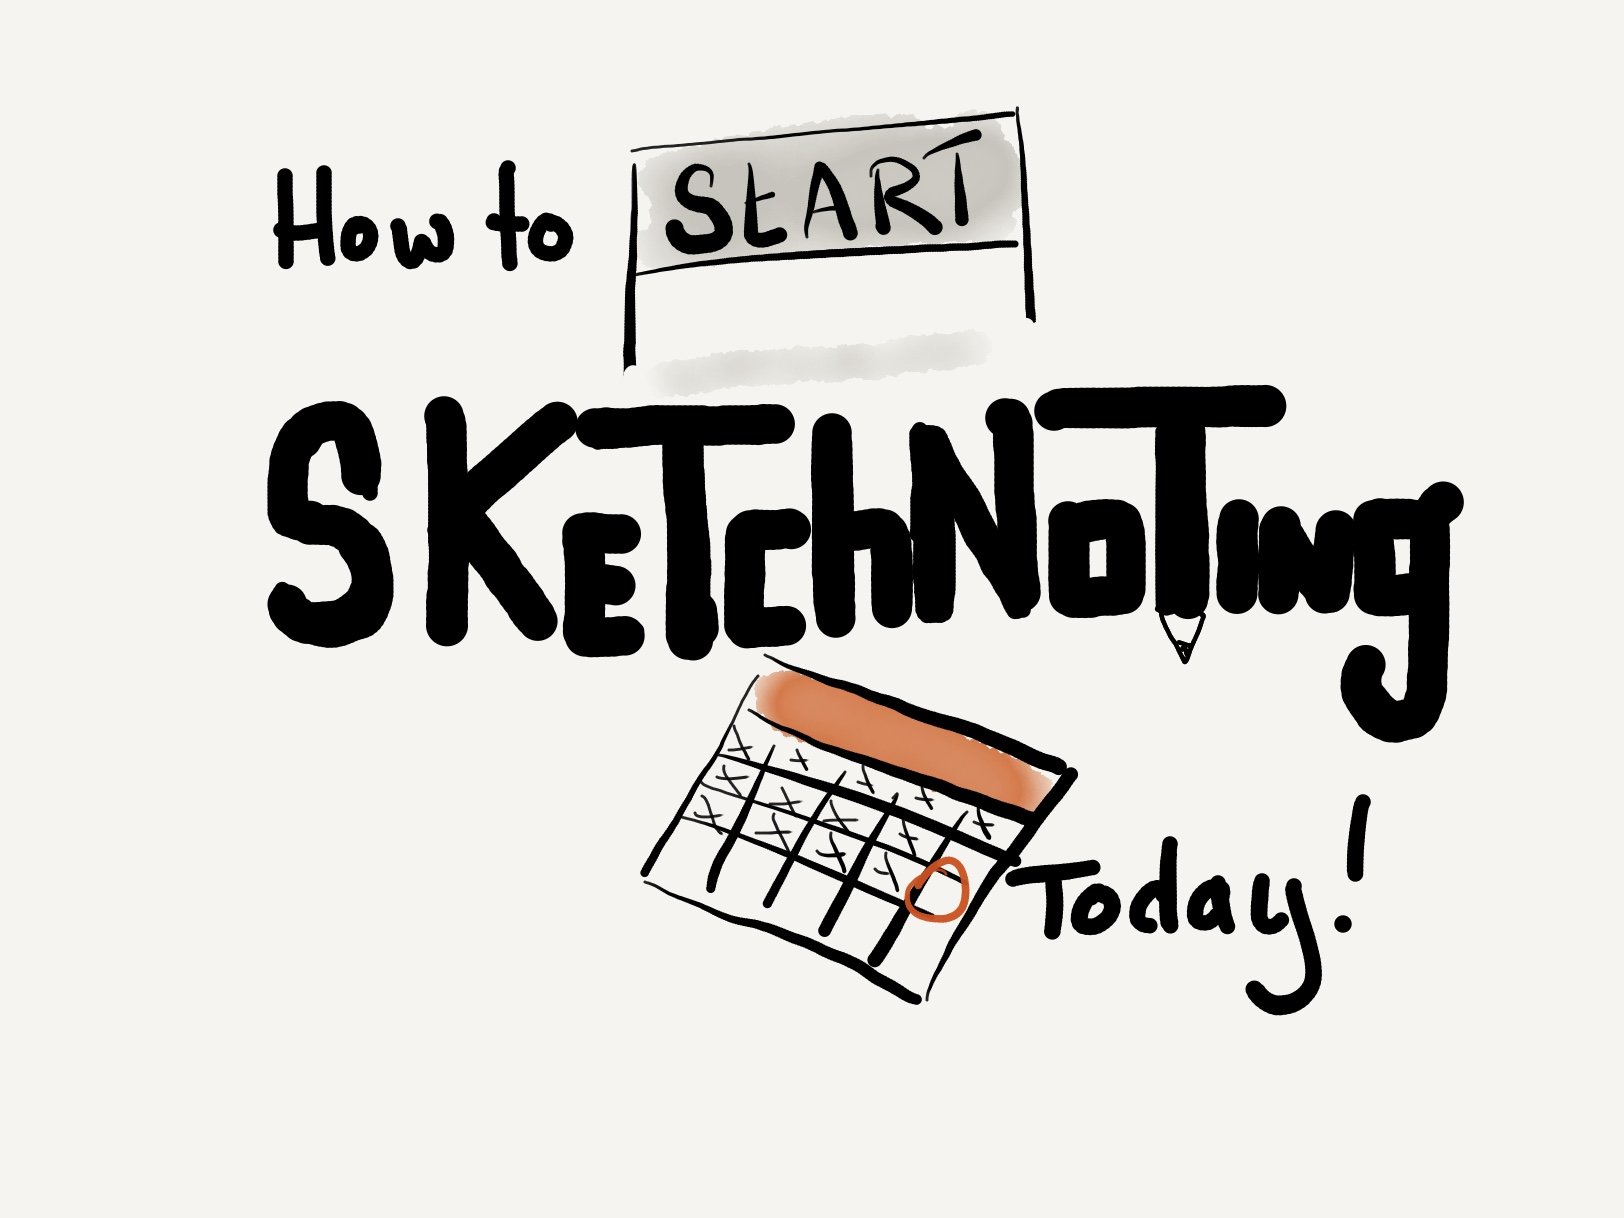
I struggled to start sketchnoting. Although I caught the idea immediately but putting pen to paper felt overwhelming. I don’t want you to suffer the same issue, so here is a simple guide to start sketchnoting today.
This could be a useful classroom activity to introduce sketchnotes to students.
Want a video guide?
Sign up for the free course and follow a video walkthrough.
What are sketchnotes?
Sketchnotes are a form of visual notetaking that includes both text and graphical elements such as icons, banners, dividers, multiple colours and layouts. They don’t tend to follow strict left-to-right, top-to-bottom organization but instead are more flexible in their layouts.
You can learn more about what Sketchnotes are and why you should use them in this post.
Why should I bother with Sketchnotes?
Visual note-taking, such as sketchnotes, helps engage with conference talks, lectures and lessons and remember more information. It’s no wonder students, teachers and average Joes have started using this note-taking method in the classroom, at conferences and at home for study and personal reflection.
Read this post if you’d like to know more about the benefits of sketchnoting.
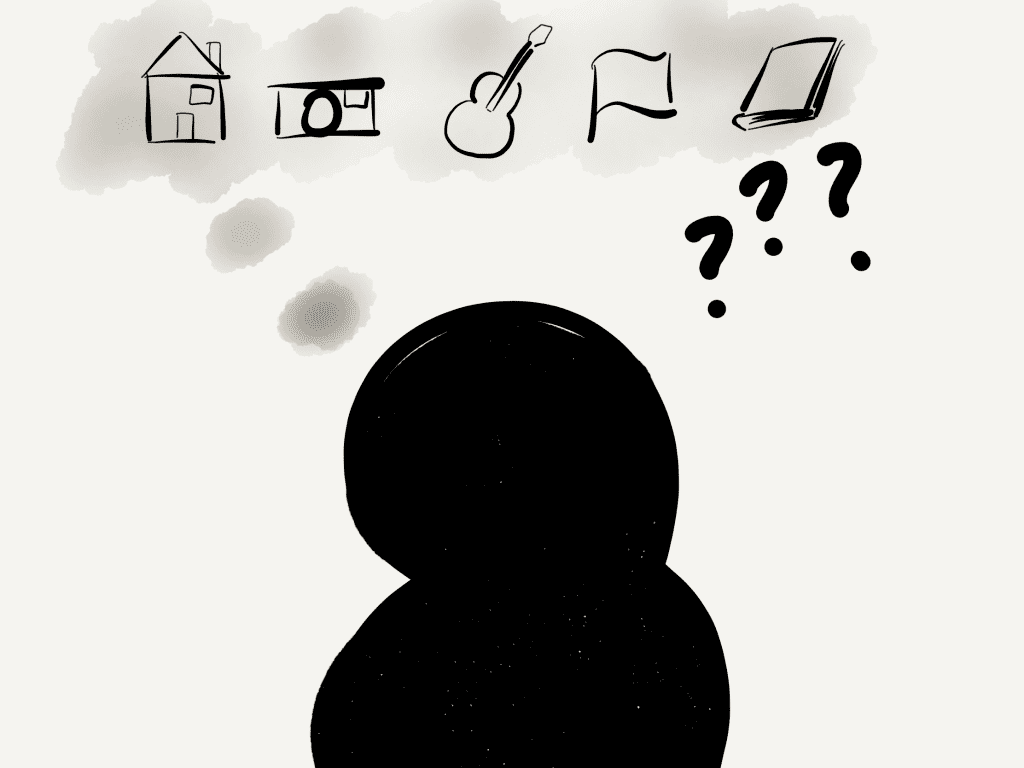
What should I start sketchnoting?
You can sketchnote anything you want. It can be a conference talk that is occurring live, a lesson in your classroom or notes on a book you’ve just read.
It can be information someone else has given you, or ideas and plans you are thinking through.
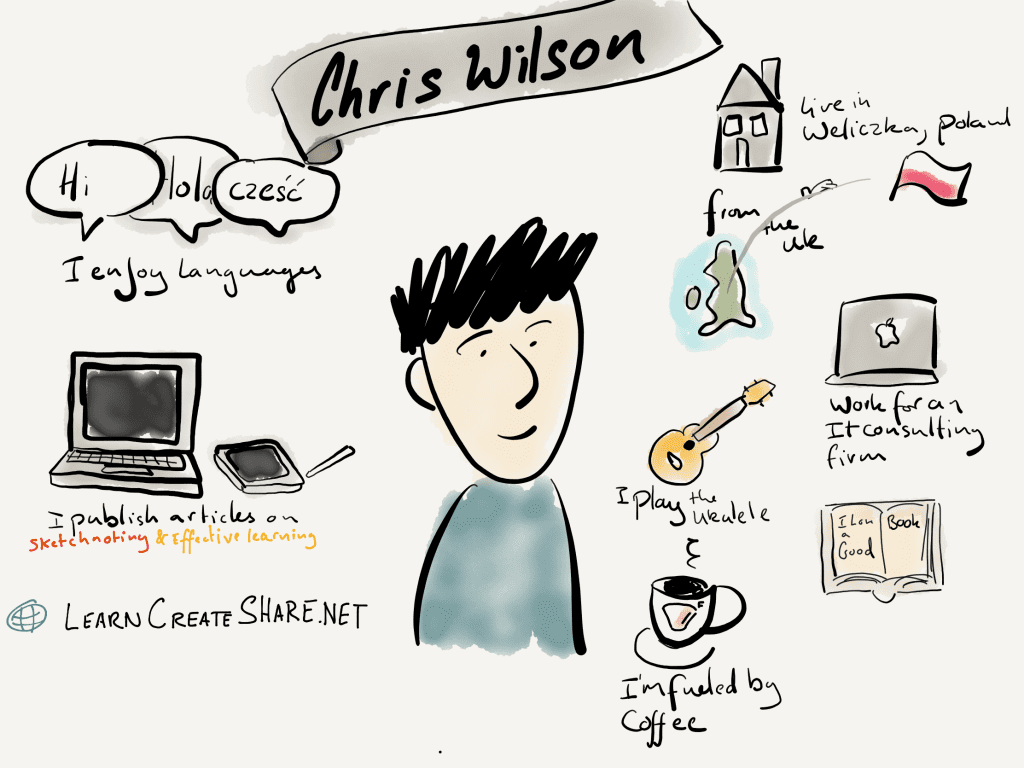
For your first sketchnote, I suggest you make a sketchnote selfie including information about yourself. This is a topic that you are bound to be familiar with and will have a unique element of yourself.
I can’t draw, can I still sketchnote?
Yes! you can! There are three reasons for this.
- Sketchnotes are about “Ideas not art”, that means getting the idea down is more important than an accurate impression. As long as you can understand your notes, that’s okay. That means simple pictures are usually better than art.
- Sketchnotes are personal and reflect the sketchnoter. Some sketchnoters use more text, others use more images. You can choose to use more text in your notes if you like.
- Your drawing will improve as you practice more. The only way to improve is to start! So let’s start today.
For more on how to sketchnote even if you can’t draw, join this free short course.
7 steps to create your first sketchnote and start sketchnoting.
Now that we know the basics of Sketchnoting, it’s time to create your first sketchnote. These steps will help guide you through the process of creating your own sketchnote.
This approach is not the approach I would take for a sketchnoting a live event such as a class. It does, however, provide a useful intro to sketchnoting which will help you develop core skills. You can then apply skills these when making a live sketchnote.
You don’t have to follow my recommendations at each point. Their purpose is to give you an easy to implement idea for your first sketchnote.
1. Brainstorm your topic
Before you start creating your sketchnote selfie, think about the things you want to include. Write a plain list of items you can include such as your:
- name
- age
- location
- job or studies
- hobbies and interests
- favourite… (book, food, etc.)
At some point you’ll feel that you’ve got every idea down that you could include, don’t stop. Wait a few minutes longer and see if you can get a few extra ideas. Those extra ideas are often the most interesting items.
2: Group your ideas together
Now, you have some ideas written down, it’s time to group them together. By identifying information that work well together, you’ll help yourself create an easy-to-understand layout.
You could write your list out again, this time with your information gathered into groups. Alternatively, you could add marks to the side to signify what belongs together.
3. Plan your Sketchnote layout
A good sketchnote layout can help arrange information clearly and tell a good story. Some sketchnoters seem to have a magical ability to group information together.
Most of us aren’t like that.
By grouping your information together, you may already have an idea about how you could layout your sketchnote. Alternatively, you could look at the most common sketchnote layouts and find one to use.
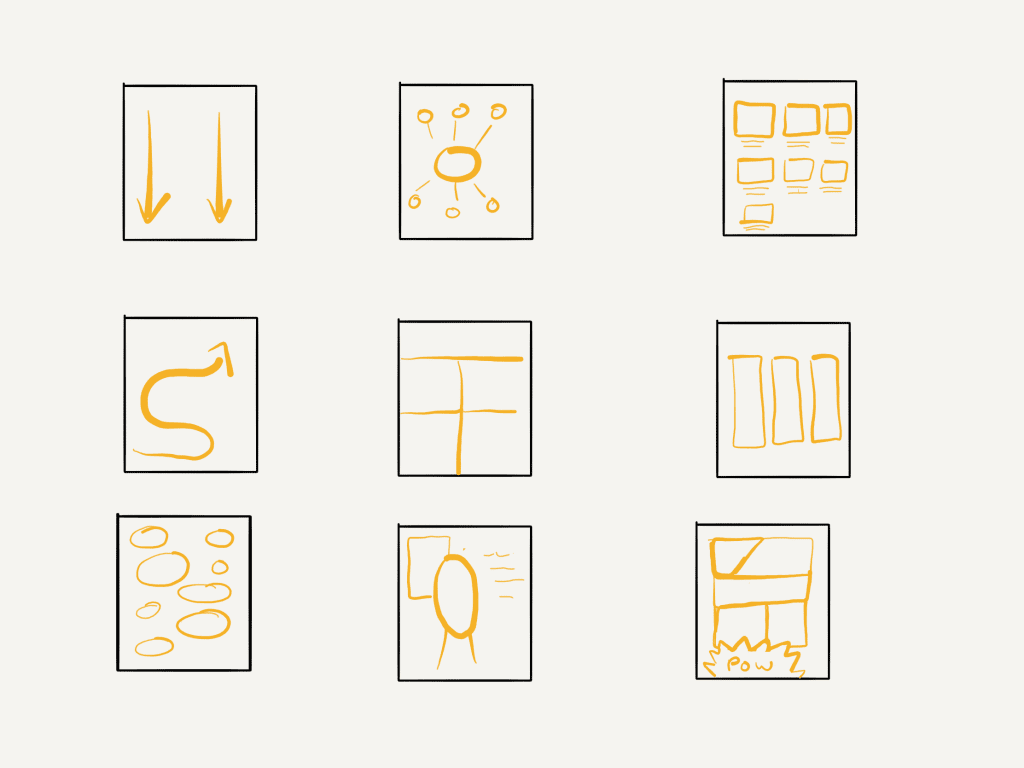
While you could choose any sketchnote layout, I’d recommend the radial layout for your first sketchnote.
It’s probably more familiar to you as it’s similar to mind maps. This style also works well for a selfie as all the information is about one central item — you.
4: Identify some icons you can include
One last step before we make the sketchnote. Identify some icons that you could draw for points on your sketchnote. For example, if you like photography, you could draw a camera.
Need inspiration for what to draw? Look at the Noun project
While you could just do a Google image search, I recommend using The noun project. This site contains simple icons that represent different ideas. It is a great tool to see an example of a simple drawing that represents and idea. You can use this to get drawing ideas.
5. Start your sketchnote: Add your title
Start by adding your title and an image of you. If you are going with a radial format, place yourself in the center.

Your portrait doesn’t need to be accurate. Focus on the main details like the overall shape of your face and distinct features. If it doesn’t look accurate, never mind, this is just your first time.
6. Mentally divide up your paper
With your layout in mind, imagine some dividing lines on your paper. Think about how much information you need to include in each area and plan space accordingly. Make sure there is a gap between different sections.
If you want, you can pencil in some lines to help plan your space. I recommend using pencil at first as you may get this wrong.
If you are making a digital sketchnote using an app like procreate, you can add a layer with some guidelines.
7. Fill in your information
Now start filling in your information. Use your groupings to direct what you include where. I suggest you start with the main points, and then expanding outward to the smaller points and details.
You can add banners with text to show groupings like “Favorites” for your favorite things, or “bio” for some biographical data.
Leave space between sections so you can see what belongs where.
8. Stand back and appreciate it
You’ve done it! Your first sketchnote! I promise the next one will be easier.
What’s next?
Now you’ve defeated the first sketchnote, you can continue to grow and the best way is with regular practice.
If you’d like some more guidance on the fundamentals of sketchnoting, sign up to 7 days to start sketchnoting. This free course will get you exploring the different types of sketchnotes available.
Leave a Reply